Table of Contents
Audio Wizard
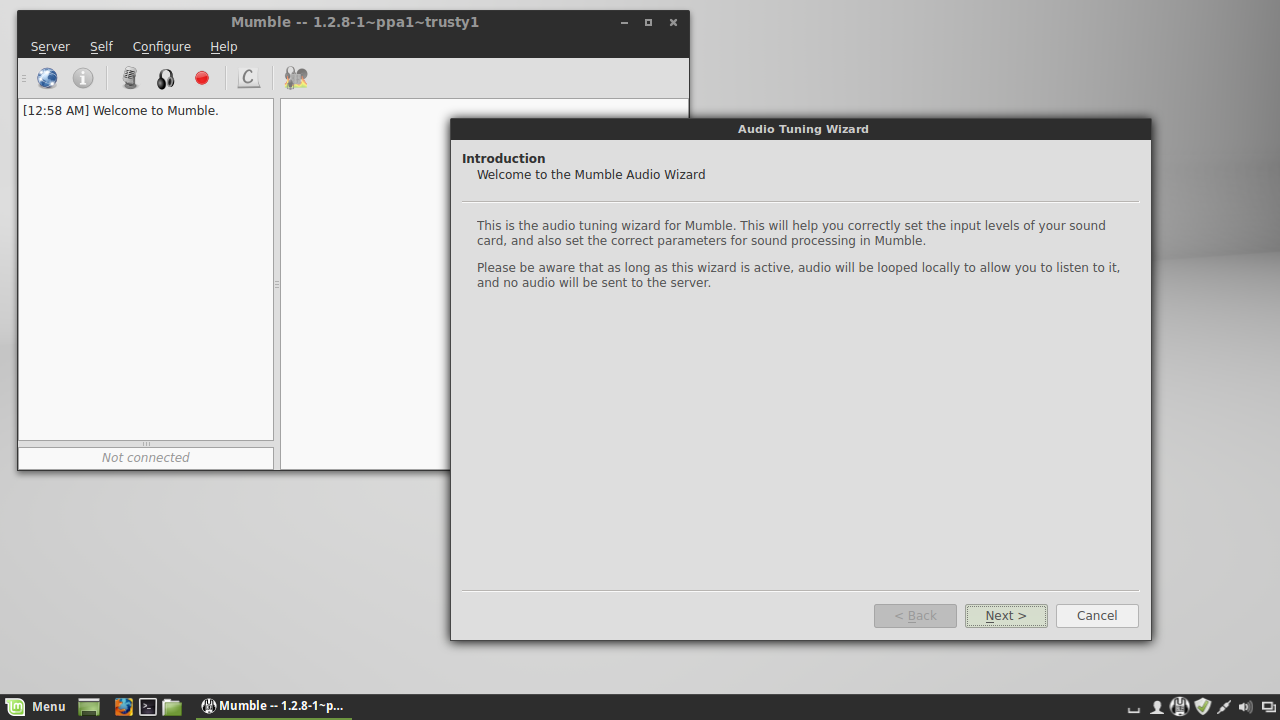
- Audio Wizard Introduction is a simple intro page that you just click "Next" on. (Screen #1)
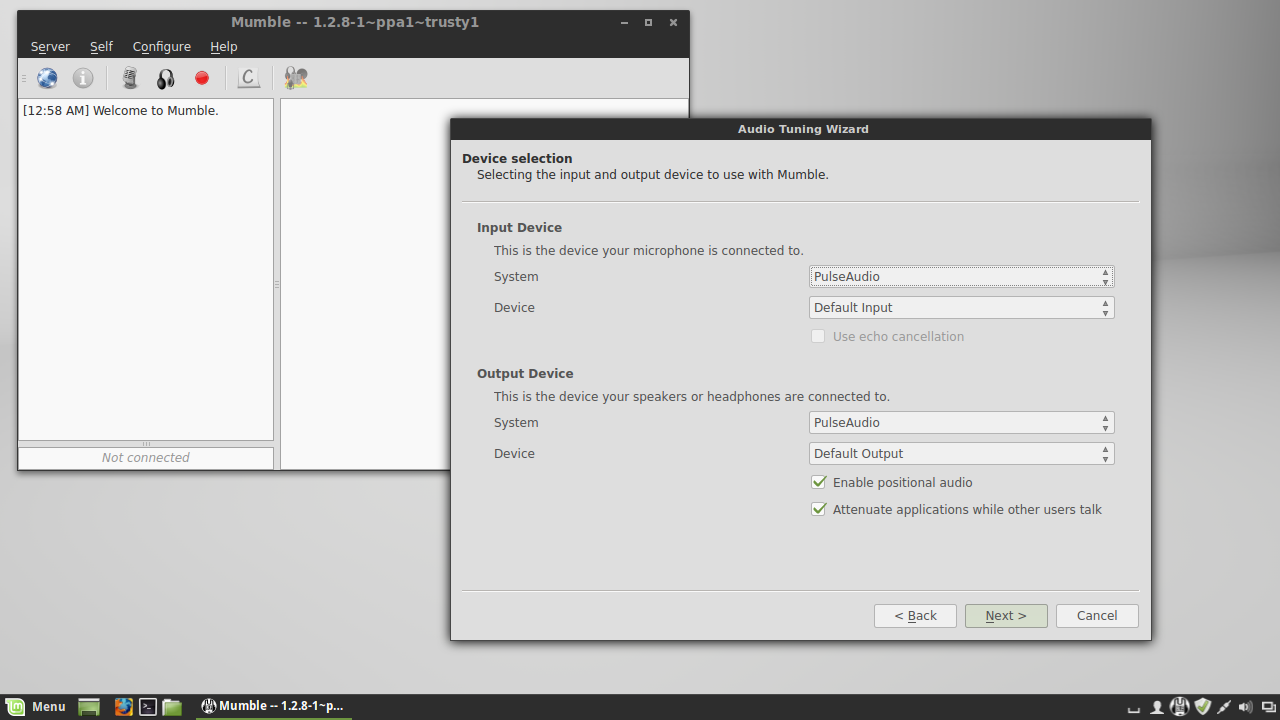
- Device Selection: choose your preferred Input and Output device for use with Mumble. This is specific to your personal setup but a headset is preferred. (Screen #2)
- "Attenuate applications while others talk" is a feature that will lower the volume of other applications while others are talking, by default it is selected but you can disable this if it does not appeal to you.
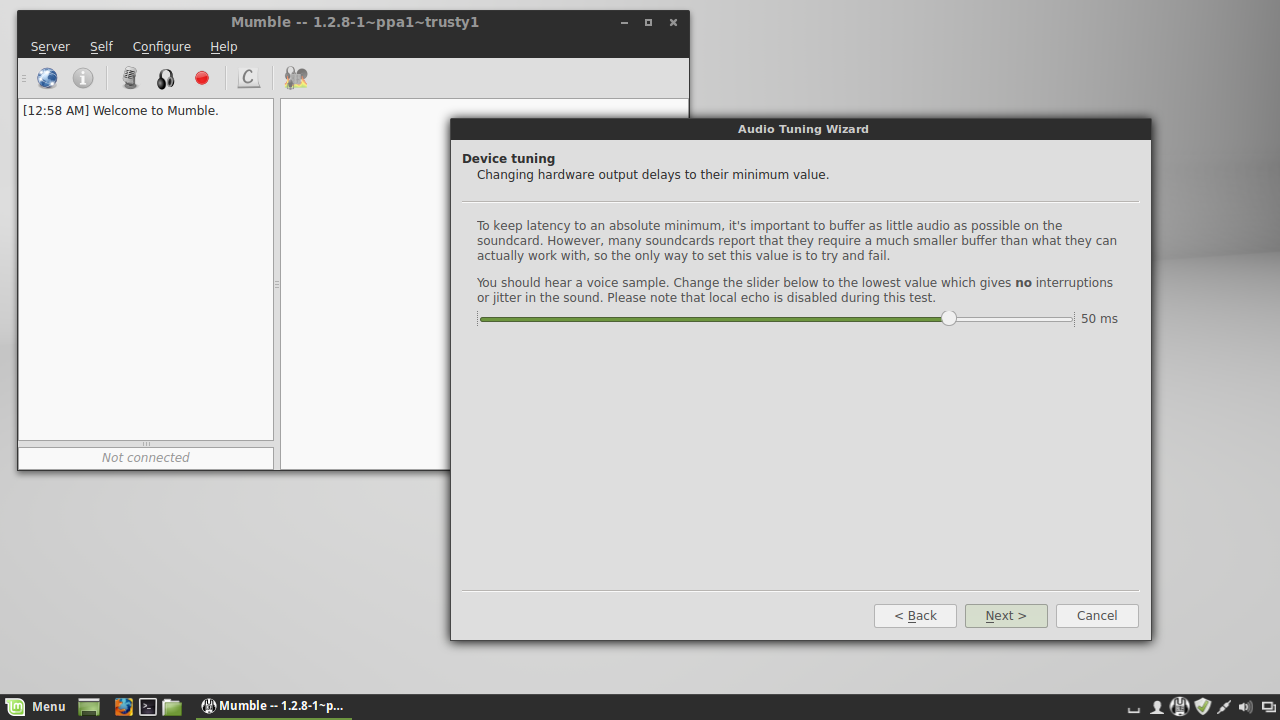
- Device Tuning is to allow you to improve hardware performance if needed, it usually isn't needed. (Screen #3)
- Volume Tuning is a tool to fine tune the amount of sound needed for your microphone to send data to Mumble. This is specific to each user so just follow the directions on the wizard. (Screen #4)
- Voice Activity Detection: change this setting to "Push to Talk" and choose your preferred P2T Key from the "Shortcuts" section. (Screen #5)
- There isn't a default, I chose Caps_Lock in this screenshot because I never use the capslock key on my keyboard so it is actually the perfect key for me. I turn off the key first in my system though so when I press it the key does nothing at all without Mumble.
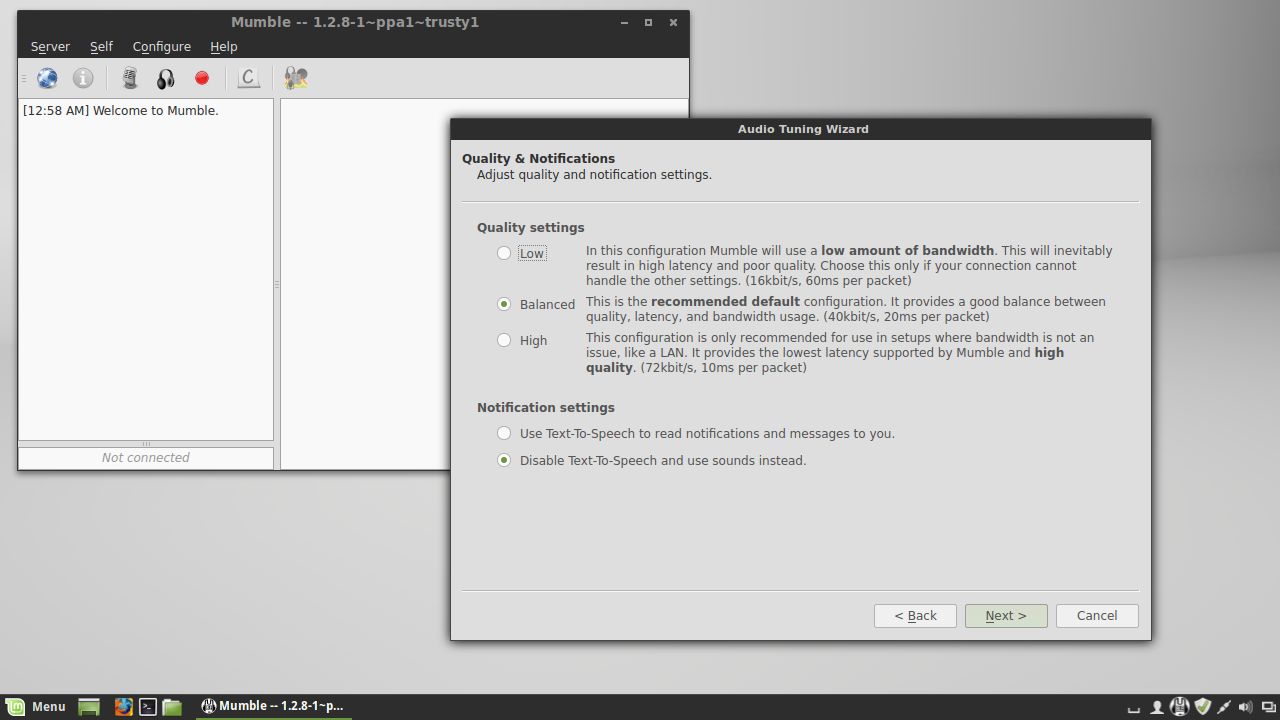
- Quality & Notifications (Screen #6)
- Quality Settings can just be left as default as this setting works quite well for most people.
- Notification Settings: Text-To-Speech feature will read messages from the channel such as Comments, Users Joining, Users Leaving, etc. This feature is on by default but I find it very annoying so I turn it off immediately.
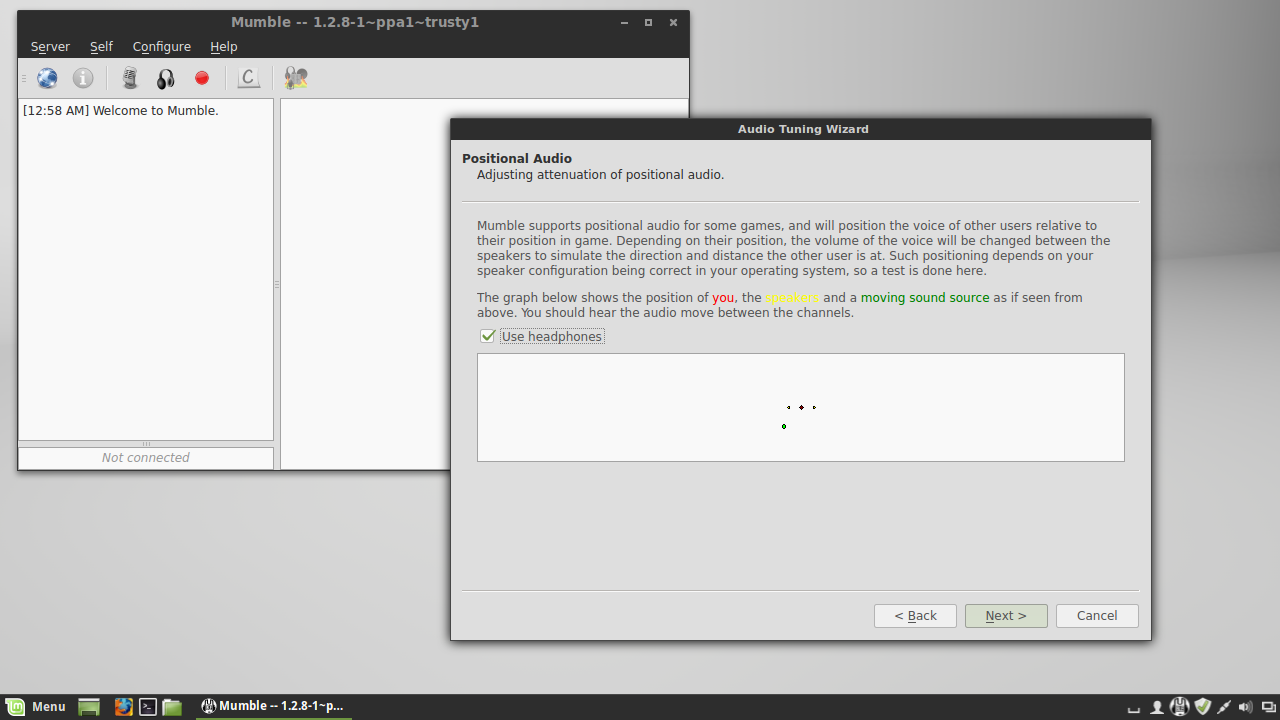
- Positional Audio: check the "Use headphones" option. (Screen #7)
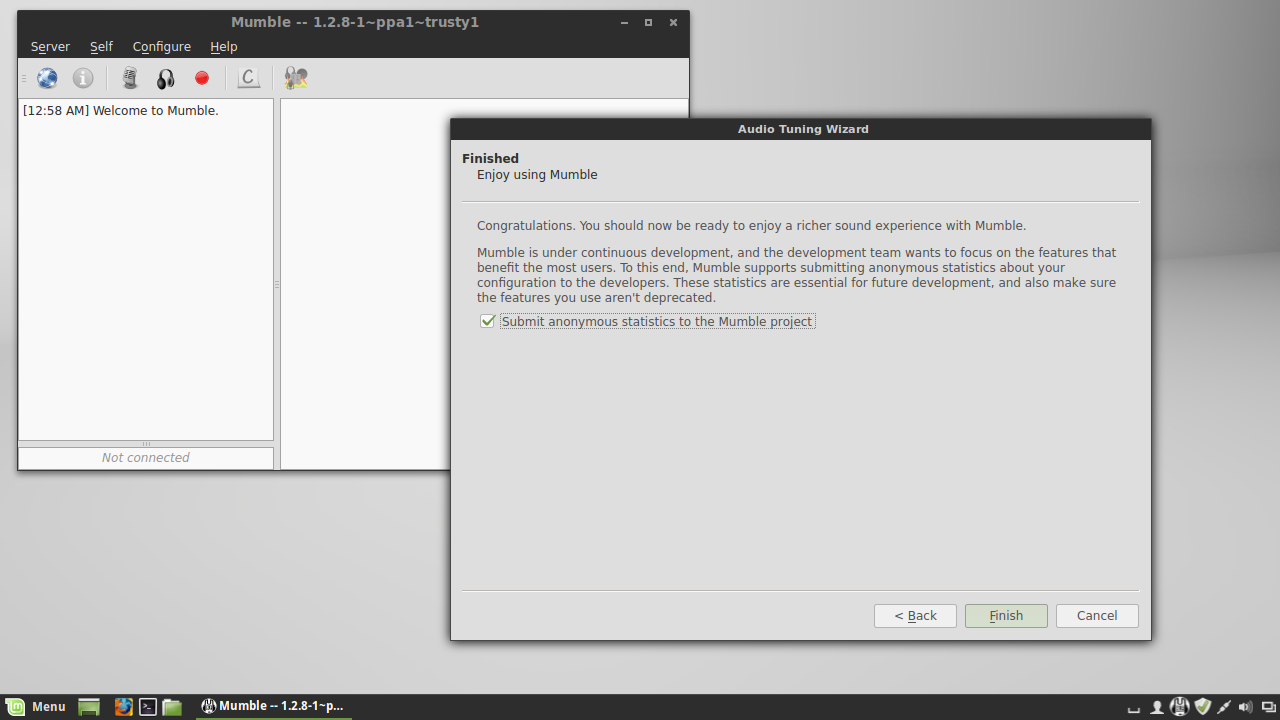
- Sending usage information is solely your preference. (Screen #8)
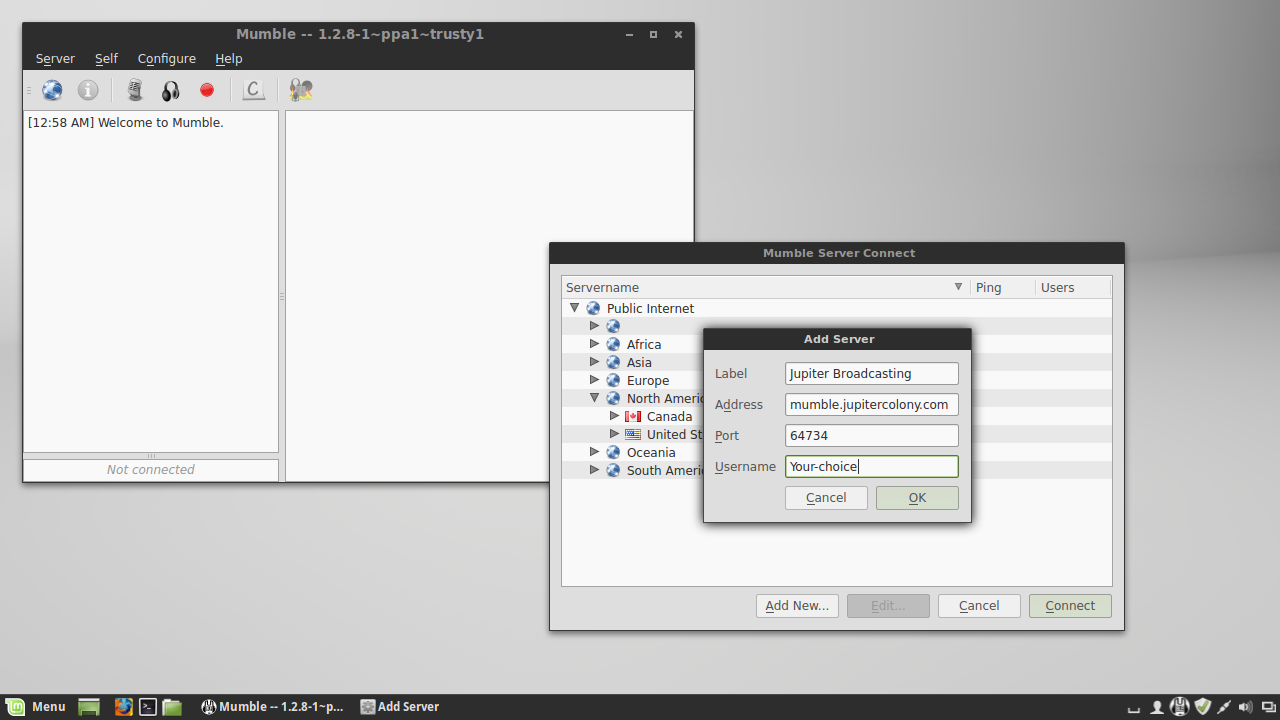
Add JB Server
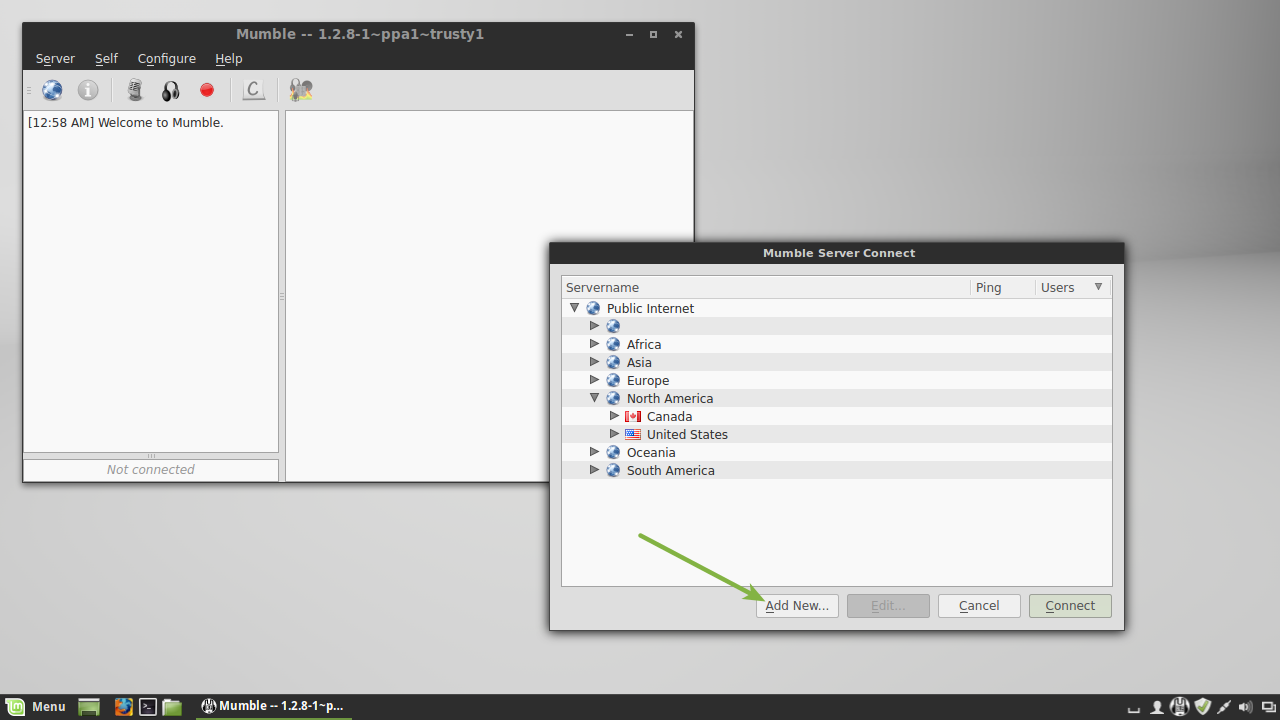
- Click on the "Add New..." button. (Screen #9)
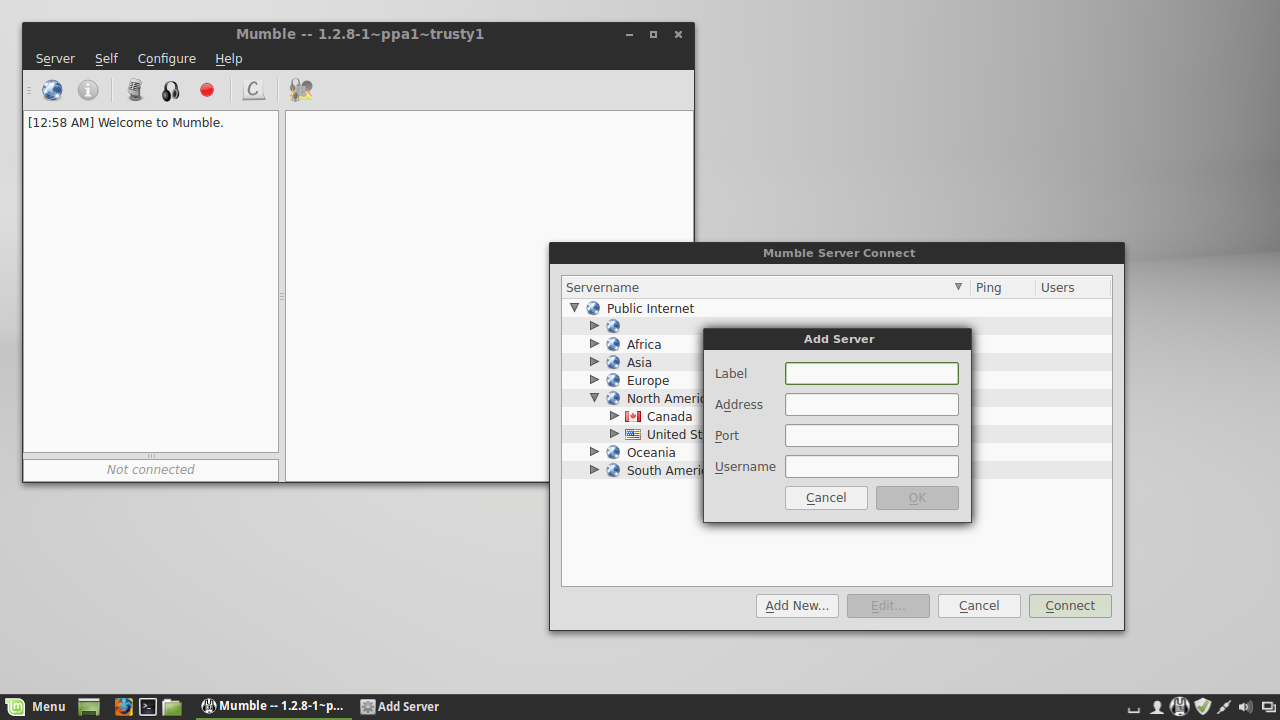
- Enter the JB Server information. (Screen #10 & Screen #11)
- Label: Jupiter Broadcasting
- Address: mumble.jupiterbroadcasting.org
- Port: 64734
- Username: whatever you want
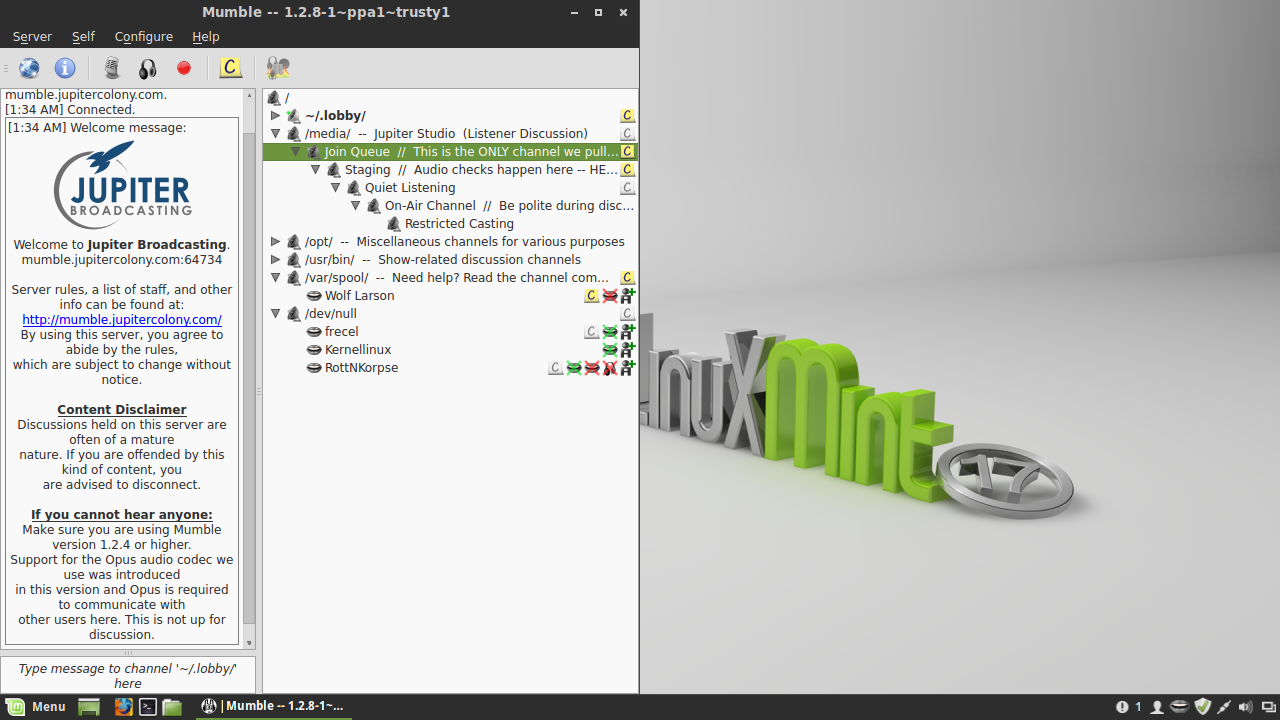
- Double click the new server entry for JB to connect. (Screen #12)
- Choose to accept the certificate from the JB Server.
Mic Check & Staging Breakdown
- Enter the "Join Queue" channel by double-clicking the title of the channel. You will then be staged by a Mod in the "Staging" channel. (Screen #13)
- Staging Process:
- Push To Talk: P2T is required because it is the best way to guarantee that sounds will not be picked up on accident and thus inadvertently make it into the show.
- Headset: this is required in order to eliminate feedback & echos from other Mumblers. You don't have to use a headset, headphones will work fine...you just can't use normal speakers as that guarantees feedback. (You also won't notice this as in your own testing, it is only noticeable by the other people in the channel, this is why Staging is necessary.)
- ChrisLAS Mum: this is a method of allowing people to inform Chris that you want to say something and a rough idea of what you want to talk about in order to cut down on people talking over each other.
- People being interviewed will usually be taken into "Restricted Casting" during the interview so you will not need to use "ChrisLAS mum" during this time. This is only used during the open conversations portions of the show.
- ChrisLAS Mum Usage:
- ChrisLAS mum a brief description of what you want to say.
- "ChrisLAS: mum feature overload for simple programs is a major problem"
(the ":" is added via IRC Client Auto-Complete, works with or without it)